Customize SharePoint List form into Wizard style
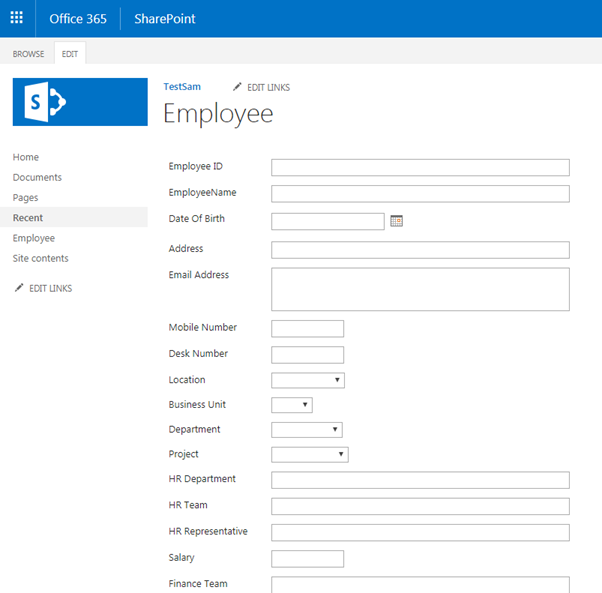
In this example, we will create a list and show the list columns in a wizard style. Follow the steps. Step 1. Create an Employee list with the set of columns. I have created 24 columns to show them in 6 steps in a wizard. By default, If you click on the new item in the Employee list, the web form looks like below. Screenshots for your reference Step 2. Enable content type in Advanced settings in the Employee list. Click on Item content type and then click on Column order to set the position of each column to show in the right position in the wizard. In this example, I have created 24 columns to show them in below 6 steps. Employee: Basic Details (Contains 8 columns) Employee: Project Details (Contains 3 columns) Employee: HR Details (Contains 3 columns) Employee: Finance Details (Contains 3 columns) Employee: Insuran...